
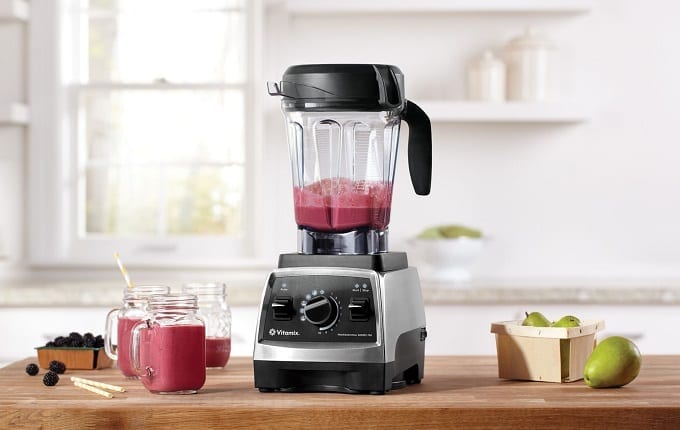
Vitamix blenders don’t come cheap, and because of that, you need to keep them at optimal cleanliness and peak performance (the two are not mutually exclusive).
The complicated build of a Vitamix begs the question: can they go in the dishwasher? It certainly would make things easier, but the answer might surprise you.
There are Vitamix dishwasher instructions for almost every single model of theirs.
Yes, most of them can go in the dishwasher, but that doesn’t mean that they should. In this brief post, we’re going to learn about stainless steel blades and how they corrode, and why just because you can doesn’t mean you should.
So, Can you put a Vitamix Blender in the Dishwasher?
Yes, your Vitamix can go in the dishwasher, with careful preparation.
There’s no Vitamix dishwasher setting per se, but you can disassemble the unit and place them on the correct racks to clean them out.
We’ll have more on the effects of dishwashing and handwashing in a moment.
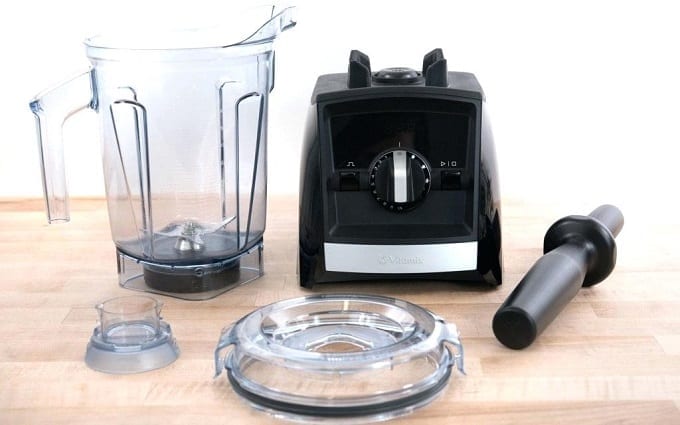
For units like the Explorian model, you simply have to pull the main chamber off of the blender base and place it upside-down in the dishwasher.
If you’re putting the rubber conformed cover in, that has to go in the top dishwasher.
You’ll also want to use a warm setting instead of piping hot, and turn the dry setting off. Once the dishwasher is finished with its cycle, it’s time to air dry the entire thing.
You don’t want to heat dry the system, because you could cause long-term damage to your stainless steel blades over time.
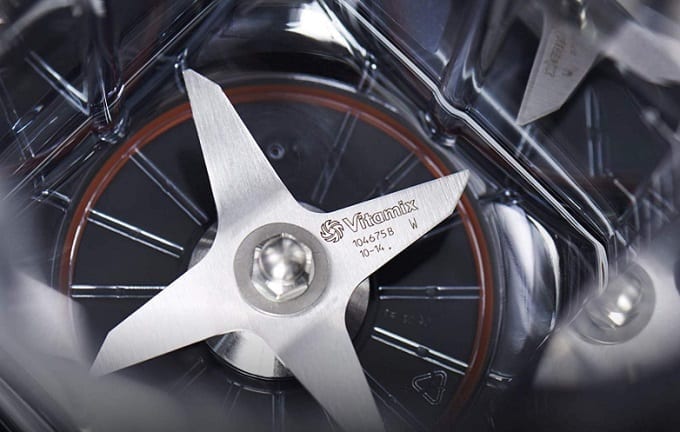
You can have the best motor base, but without sharp steel blades, it’s not really going to be of much use to you. You should be replacing the blades every six months, or depending on how much you use them.
You can also sharpen your blades. The thing is, all of that effort would be lost if you subject it to corrosion.
The other thing you need to keep in mind is scratches. You’re likely dealing with a plastic pitcher, and even if you’ve got a glass one, you can still get micro scratches in the glass.
These micro scratches have a knack for harboring bacteria that doesn’t get rinsed out properly in the dishwasher.
It’s why you should hit it with a soft plastic bristle scrub brush beforehand, just to be safe, and also why you should let it out to air dry every single time.
The steam that’s produced from the dishwasher’s drying cycle will provide a perfect temperature for the bacteria to multiply in those crevices.
Can My Stainless Steel Blades Corrode in the Dishwasher?
They can, but you have to play it smart.
Stainless steel possesses one of the highest corrosion resistance ratings of any alloy.
An alloy is a mixture of different metals, and in this case, the steel is about five nanometers beneath the oxidized surface of the alloy.
There’s still a presence of straight steel, but it needs a certain mixture to pass as stainless steel blades.
Used on its own, steel is rather inexpensive when it comes to small quantifiable uses, such as in steel blades.
However, stainless steel requires a 10.5% content of chromium in order to be considered “stainless,” or corrosion-resistant.
Vitamix exclusively uses stainless steel, so if you see a Vitamix blender for sale that doesn’t offer stainless steel blades, it’s likely not authentic.
Stainless still can corrode with time, and one hell of a beating. It takes a lot of neglect in less than desirable circumstances to ruin your stainless steel blades.
Either that or leave them in the dishwasher for too long. Even though it might not feel like it, your stainless steel blades have an external layer.
If you’ve ever seen a sheet of metal or old lock rust, you might remember a paint-like coat on top that seemed a little less reddish-brown.
Since steel is made almost entirely of iron and iron oxidizes with air and moisture contact, that five-nanometer chromium coating is basically a shield for your blades.
You might have found a lot of online advice that says to just throw your blades out when they’re dull, and replace them entirely.
It’s up to you: we have one reason to, and one reason not to.
You can extend the life of the blades and refurbish their effectiveness by briefly sharpening them from time to time, and that saves you money (not to mention shipping times).
However, you’re exposing more of the deep-rooted steel to oxidation without that chromium coating.
Step-by-Step Guide for Vitamix Cleaning
There’s a way to do it by hand, and another that includes a self-cleaning function found on nearly all Vitamix blenders.
By Hand
1. Use a rubber spatula to get all the previous contents out (you don’t want to waste good food). After that point, make sure there’s a stopper in your sink to catch any remaining food or drink.
2. Turn your hot water knob about halfway, and the cold water about a quarter of the way. We want warm water, but we also want the pressure.
3. Disconnect the pitcher from the base and remove the lid. Under the warm water, rinse any residue off of the lid, and place it aside. Do the same with the pitcher.
4. Get a non-abrasive sponge ready. Wet it and apply a dot of dish soap, and squeeze it into the sponge. Gently run circles into the lid and the pitcher.
5. If you have any other working parts, follow steps three and four. Be sure to scrub the interior as well as the exterior.
6. Rinse each component with warm water. This includes the pitcher, blades, lid, and anything else that comes with your specific Vitamix. Use the hose connected to the sink for increased water pressure.
7. Ensure all soap has been removed from the surfaces. Leave in an area where they can air dry, and where liquid won’t pool (pitcher upside-down, etc.).
8. Go over the entire system with a dry cotton cloth after the air drying process has finished. Blenders have a lot of working parts, and you want to make sure that there’s no water buildup.
9. Use a wet cloth to go around the base and in between the buttons of your Vitamix. There’s likely to be minuscule splatter that’s found its way to the exterior of your motor base.
Self-Cleaning Feature
1. Rinse out the pitcher and lid. Put one drop of dishwashing detergent into the pitcher, and fill ¼ of the way with warm water.
2. Reapply the lid, and select the self-clean function. On most Vitamix models, there are 30-second cycles and 60-second cycles. If you need any more than the maximum setting, you should instead clean by hand.
3. Empty out the liquid, and rinse each component out. Wipe down the motor base before leaving everything to air dry.
If you’ve ever looked up a video or images on how to clean/fix your blender, then you’ve likely seen bases being taken apart with plenty of cruds collected in them. We can’t stress this enough, as a PSA: clean the motor base of your blender after every single use.
Why is Air Drying Important?
Air drying is not only good for your blender, but it’s absolutely paramount for your health.
Waterborne bacteria easily spread on wet dishes, and if you’re not using the dishwasher heat dry cycle (which you shouldn’t), air drying will ensure that no bacterial growth occurs.
In a restaurant setting, stacking wet dishes together makes a ticking time-bomb. Bacteria enjoys moist, dark places that are usually warm.
The warmth will expedite the growth and production of bacteria, but the darkness is what helps it begin the process.
If you’re going to use the heat dry setting on the rest of your dishes in the dishwasher, just pull the blender components out beforehand, and find a good spot to hang them up.
You can prop them in a countertop dish strainer, or if you have hooks around the kitchen, you can hang them up there to make things a bit easier.
Air drying also means no hard water buildup spots or sediment on your dishes, which you might notice in your cups and bowls when they’re dried in a dishwasher or improperly dried on the countertop.
Keep it Clean
At the end of the day, it’s all about keeping it as clean as possible to ensure there’s no bacterial growth in micro crevices.
You can use the dishwasher to clean it, but then you need to leave it to air dry.
Your stainless steel blades will last an insane amount of time if you wash them off yourself instead of using the dishwasher, so measure convenience against the cost of more frequent blade replacements.
Subscribe To Stumpf Studio Newsletter
By entering your email address you agree to get email updates from Stumpf Studio. We'll respect your privacy and unsubscribe at any time.